Monday, November 30, 2009
Banff
I just returned from a trip from Banff and brought back some great pictures. I traveled to Banff with the main focus of skiing, but found some time to get some great shots. It's hard not take at least a few good shots in Banff, due the incredible mountains Banff National Park boasts. I've been many places on ski trips, and this place had to have the most impressive mountains i've seen so far. So if mountains are your thing, the Canadian Rockies are the place for you!
five favorite photos


Over the course of this semester I took hundreds of photos, most of which were very unsuccessful. Through the process I did gain a better understanding as how to capture higher quality photos, and did come away with a few photos that I find visually pleasing. These are five of my better results. The photos are unedited because blogger doesn't seem to want to upload my edited form photos, which I have a feeling is due to my lack of computer suaveness. The two mountain scenes were taken in Banff National Park, the Bird silhouette and tree were taken at Two Moon Park, and last, the sunset was taken from my balcony in Billings, Montana.
Here are the settings for each shot:
1. Mountain: Shutter: 1/400
Aperture: f/5.0
Focal Length: 20.1 mm
ISO: 64
2. Sunset: Shutter: 1/40
Aperture: f/4.3
Focal Length: 15.52 mm
ISO: 100
3. Mountain: Shutter: 1/250
Aperture: f/5.6
Focal Length: 20.1 mm
ISO: 64
4. Tree: Shutter: 1/30
Aperture: f/4.5
Focal Length: 11.4 mm
ISO: 100
5. Bird: Shutter: 1/160
Aperture: f/5.0
Focal Length: 20.1 mm
ISO: 64
* All pictures were taken using my Olympus, Stylus model S850SW
Senior Show
I had the opportunity to tour the gallery with the art students who put together Rocky's fall 2009 senior art show, and was very pleased. The show included some very well done, thoughtful work. My favorite section of the show was Denise's installation. The work she had shown was not my favorite until she explained it. She suffers from some sort of arthritic disease, that makes life painful on the best of her days. She did some math and found she needs to 99 pills per month, just to make it through the day. She fears that if she her disease doesn't cripple her, the drugs will. Denise's installation really sets the mood of the struggle she faces on a daily basis.
Another notable artist from the show was Krista. I had been in a couple art classes with her and throughout the classes she has demonstrated how passionate she is about her work. Her senior show did not let me down. Her work reflected her love for what she is doing as an artist, and her love for for flamenco dancing. She is truly a gifted artist!
Wednesday, November 18, 2009
Snapshots
I didn't totally understand Jane Waggoner Deschner's artwork until a presentation she gave in one of my classes. I knew she was a fairly accomplished and experienced artist, but I didn't understand why an old snapshot could even be considered "fine art." Jane's explanation of her work totally inspired me and changed my view of photography. I previously felt in order for a shot to be meaningful or seen as fine art it must be taken using professional quality techniques and equipment. Jane offered a quote by Nan Golden that really helped me relate to her work; "The snapshot is the form of photography that is most defined by love. People take them out of love, and they take them to remember- people, places, times. They're about creating a history by recording a history."
Today, people see snapshots every day, whether on a fridge, photo album, or on websites like Facebook. We all have grown so accustomed to seeing snapshots that we have been desensitized to the true nature of them. The introduction of digital cameras has also robbed a bit of the nostalgia associated photographs by making it so easy to do. I think if where to pursue photography in the future I would strictly shoot subjects that I truly love, using older equipment, that requires time and care to develop. By doing so I would become much more personally attached to my work. It would also take a form of art I consider a bit technical to another level by connecting with one of the purest forms of human emotion; Love.
Tuesday, November 17, 2009
Photo Assignment


These are the shots I took during class on thursday...
Pictured in order:
-Silhouette
-Rule of thirds
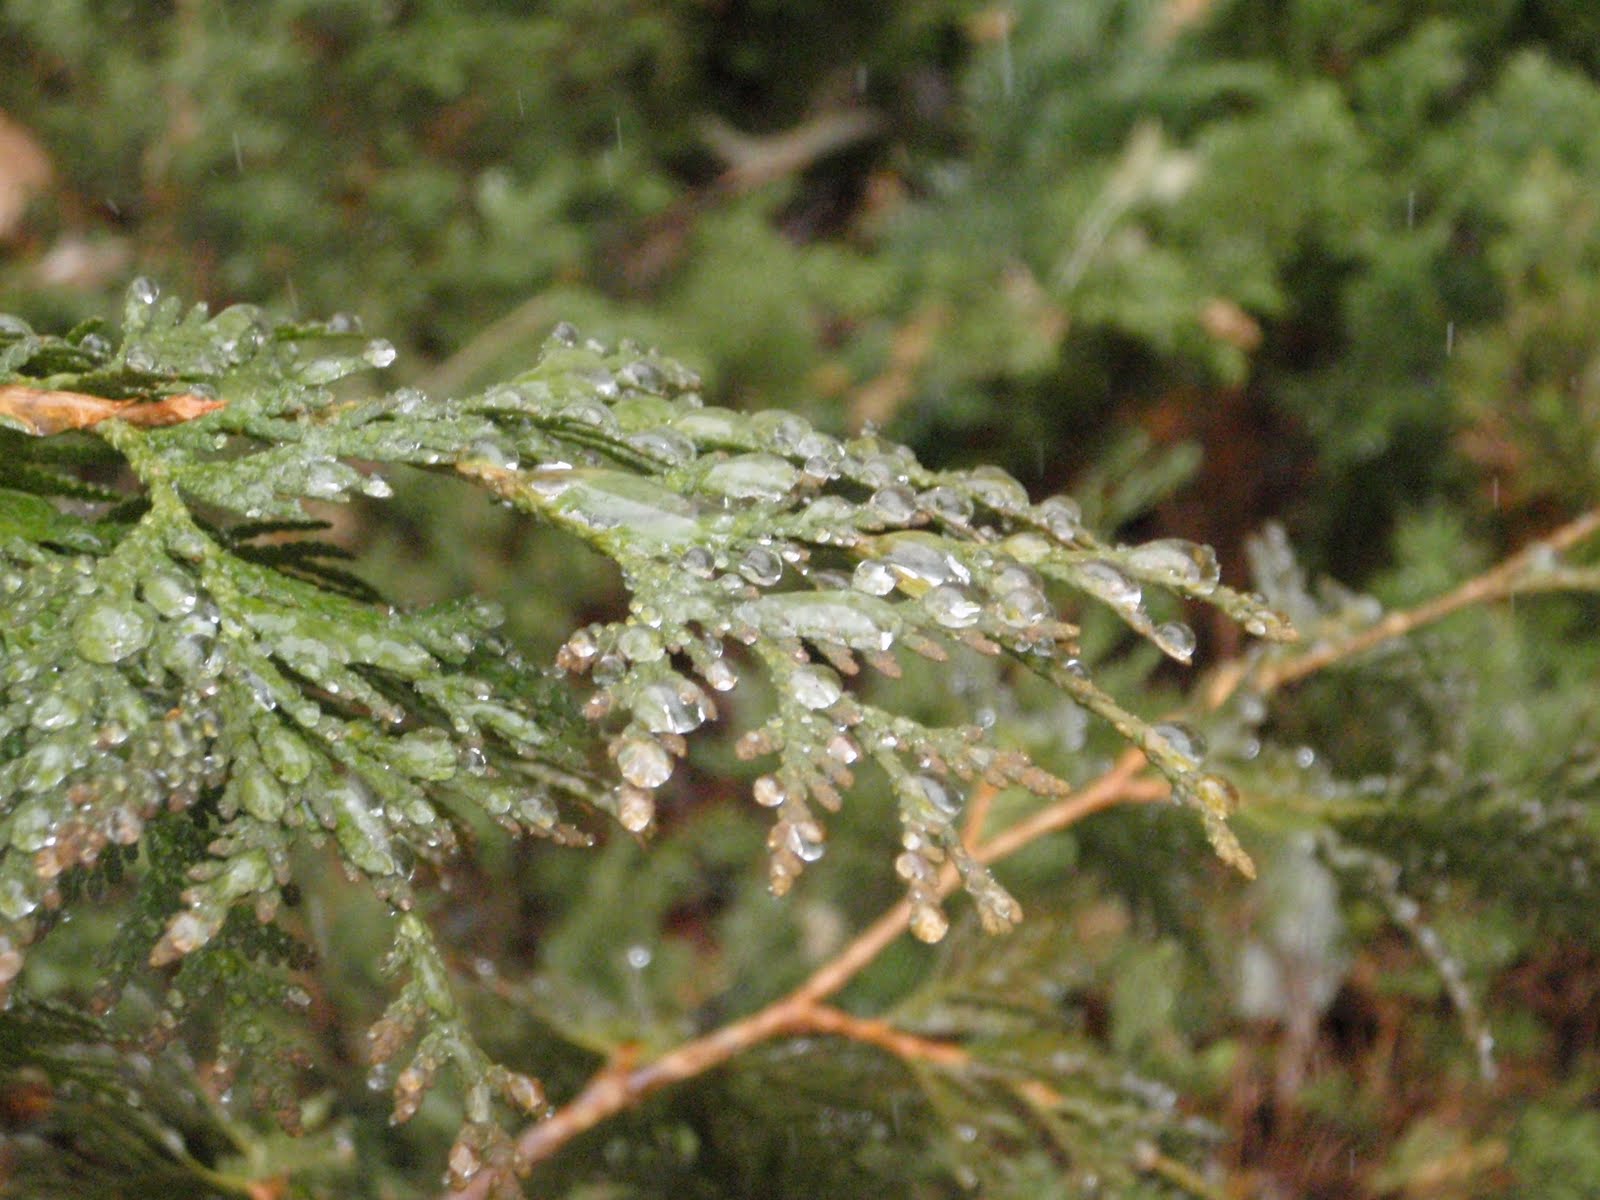
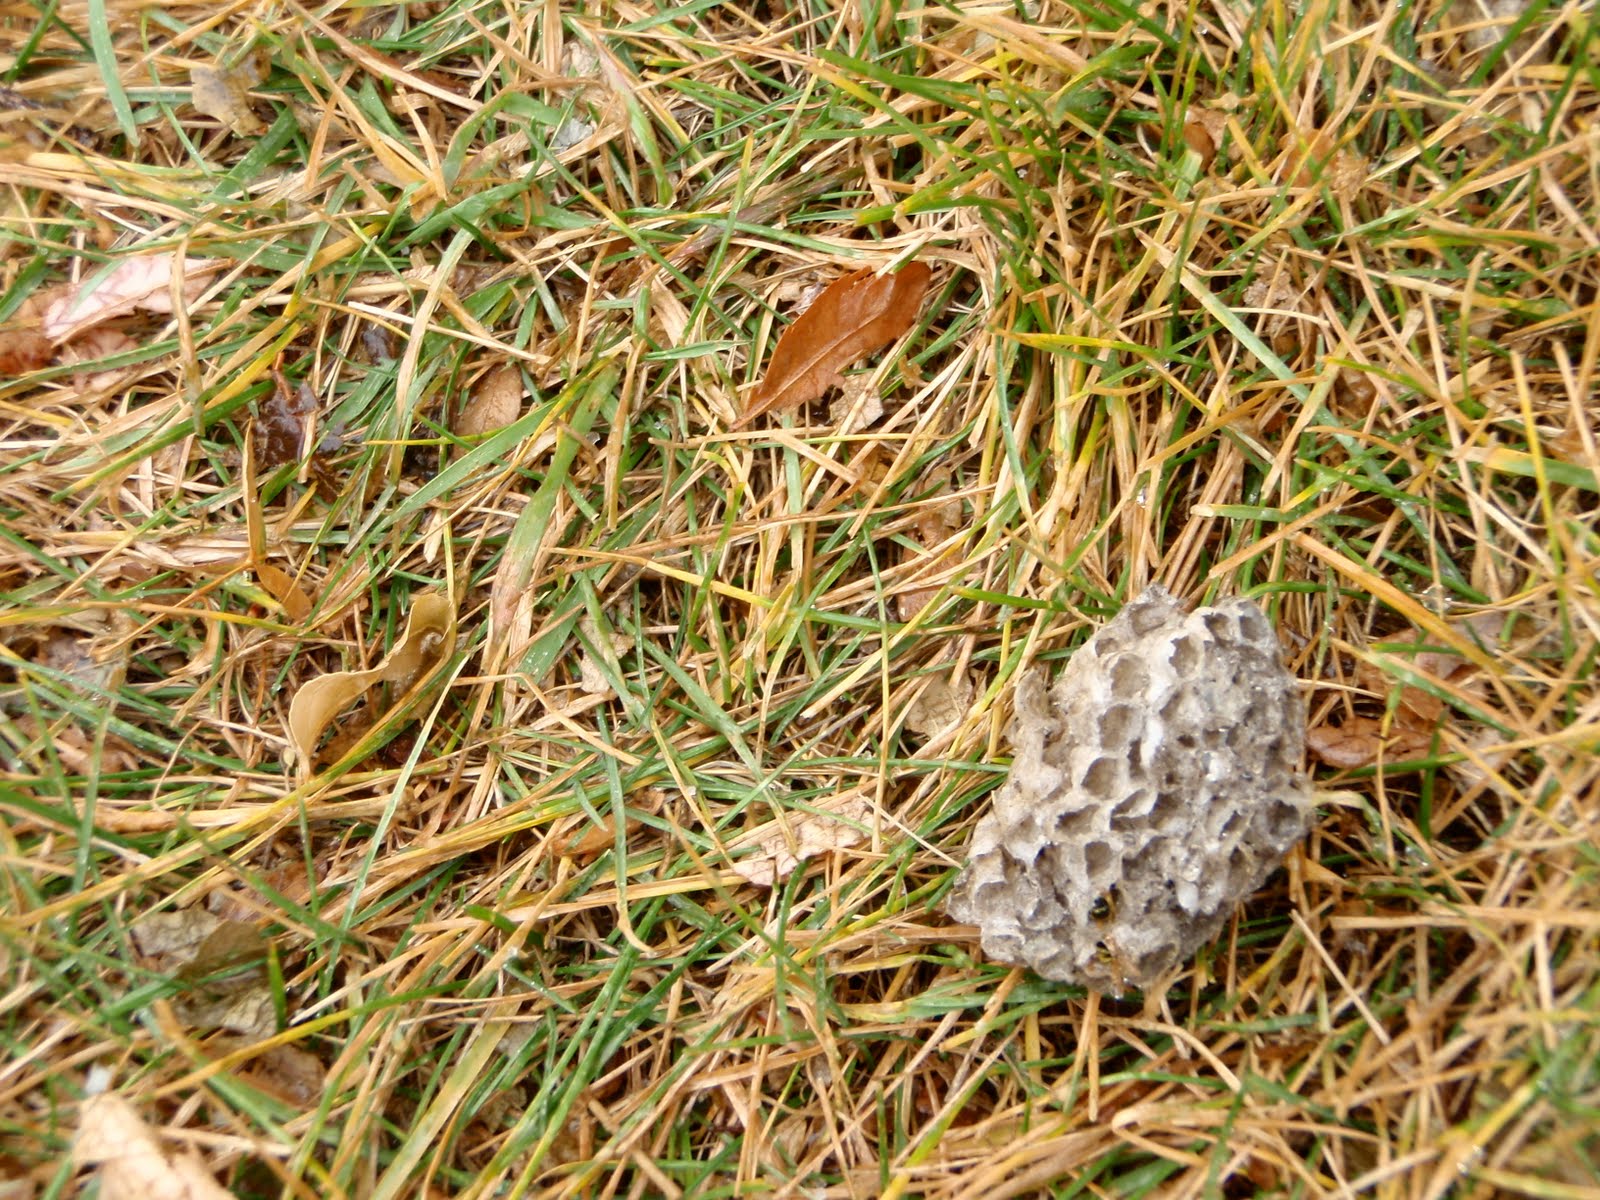
-Detailed close up
-Blurred motion
-Hyperfocal
-Rule of thirds (My choice)
-Silhouette (my choice)
-Reflection
-Panning shot with sharp subject
-Use of red
Thursday, November 5, 2009
Reading assignment
This week I read three sections from my textbook, Nature Photography, by Tim Fitzharris. The first section I read was called The Power of Perspective. It identified some key techniques about how to create a sense of depth in photos using compositional elements, and camera settings/lenses. One specific offered is the use of size cues. Using the relative size of features within a landscape can create a sense of depth, because objects that are close appear larger than similar objects far away. Another way to create depth is by using a wide angle lens. They increase the perceived distance between elements in the composition and give a feeling of deep space. Other topics covered that help with creating depth are, the hight from the ground your camera is set at, overlapping of elements within the picture plane, side lighting your scene, atmospherics, and incorporating multiple planes within a shot.
The next section I read is, Nature's Mystical Mirrors. This section uncovers how to record dramatic reflections from water elements within a land scape. The section offers advice as to what kind of equipment is needed and how to scout out where you should shoot from in advance. It also touches on specific elements such as lighting, subject angle, and compositional elements, which all can play a part in getting a shot with beautiful ascetics. Last the section offers advise as to when the best time of day to shoot reflections is and how to use filters so that the reflection is sharp, and both shadows and highlights show fine detail and full color.
The final section read was, Working at close range. This section explains the use of accessories, and lenses for close up photography. The section first suggests the use of a macro zoom lens which can be quite expensive, but can be used on a range of subjects of a vast scale in size. Photographers can also work with different extension tubes and bellows, depending on how wary their subject might be. When ambient light is low the text suggests using supplementary lenses with teleconverters. Telephoto lenses are often your best bet when shooting wary objects because they allow you to maintain adequate distance from the subject. Wide angle lenses with short extension tubes create a feeling of expanded perspective, while tilt shift lenses make a maximum use of depth of field. Tilt shifts make use of larger apertures and faster shutter speeds which freeze motion. Last, the text covers the use of flashes when shooting close up. It's important to position your flash and defuse it in a way so that high lights are present, without over lighting the subject to the point that contrasts are washed out.
Overall I found each section very insightful, and can't wait to test out my newly learned techniques in the field.
Wednesday, November 4, 2009
Elements and Principals of Design
John Lovett is an Australian watercolor artist , who offers clear and simple insight about the elements of design at his website (www.johnlovett.com). Though Lovett is a painter, his insight can be helpful for photographers as well. A painter attempts to mindfully create a visually pleasing landscape using design elements. When photographers shoot landscapes, they use similar design elements. The difference is that photographers often must look for visually pleasing balanced compositions within what ever nature offers.
When explaining some of the elements of design Lovett covers, line, shape, direction, size, texture, colour/hue, and value. He offers simple, clear, and insightful explanations of each. Lovett also covers such topics as, Balance, gradation, repetition, contrast, harmony, dominance, and unity as they relate to the principals of design.
I found his website quite interesting and would suggest it to any one interested in painting, photography, or design.
Monday, November 2, 2009
Reading blog
Since my last reading blog I have read five sections of the Nature Photography, text book. The sections include. Photographs as Impressions, Getting Close, Animals in Action, Wildlife portraits, and Finding Photographic Landscapes. The first section; Photographs as Impressions deals with realism, and subjective imagery. The next section; Getting Close explains may techniques to get yourself within photographic range of wild life. The section stresses the importance of understanding your subjects habitat and behavior patterns. Animals in Action is the next section which covers techniques for recording animals in motion. The section has numerous hints for shooting birds in flight. The fourth section; Wildlife Portraits deals with presenting animals in a meaningful way. The section touches on building three layer picture spaces, which includes the foreground, mid-ground and background. It also identifies the importance, or meaningfulness of capturing sharp detail in an animals eye. The last section I read was Finding Photographic Landscapes, which gives clues how to evaluate potential landscape settings. Some visual cues to look for are, color, clouds, calm atmospheres, and having an open horizon on one side of mountainscapes. All of the information presented in the sections is insightful, and the pictures, are great!
Subscribe to:
Posts (Atom)
